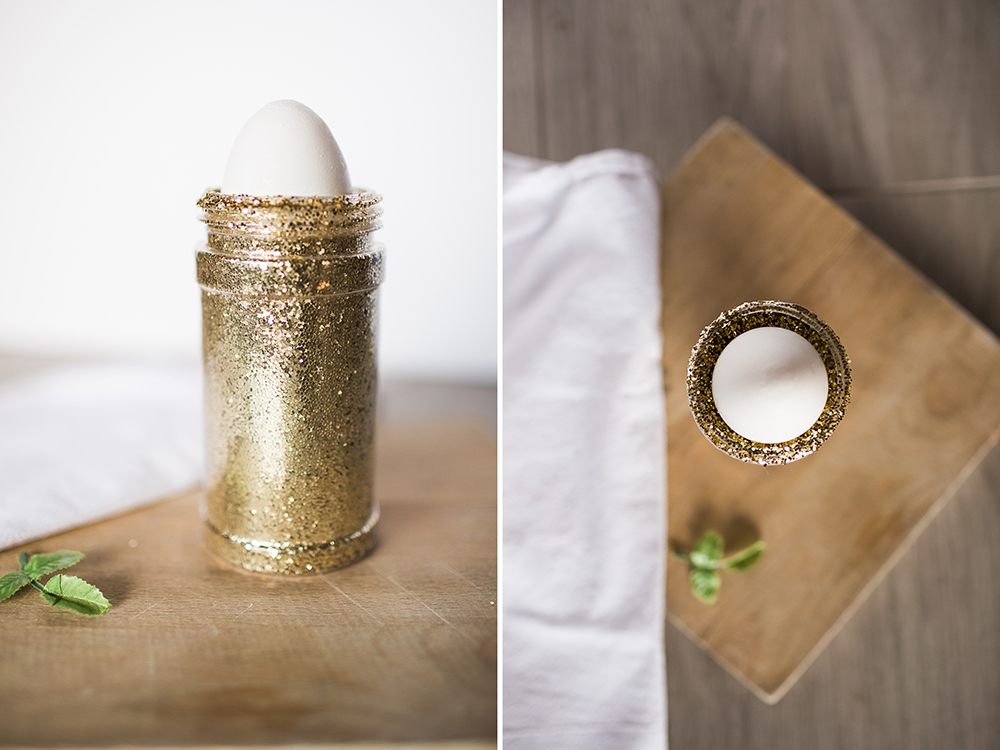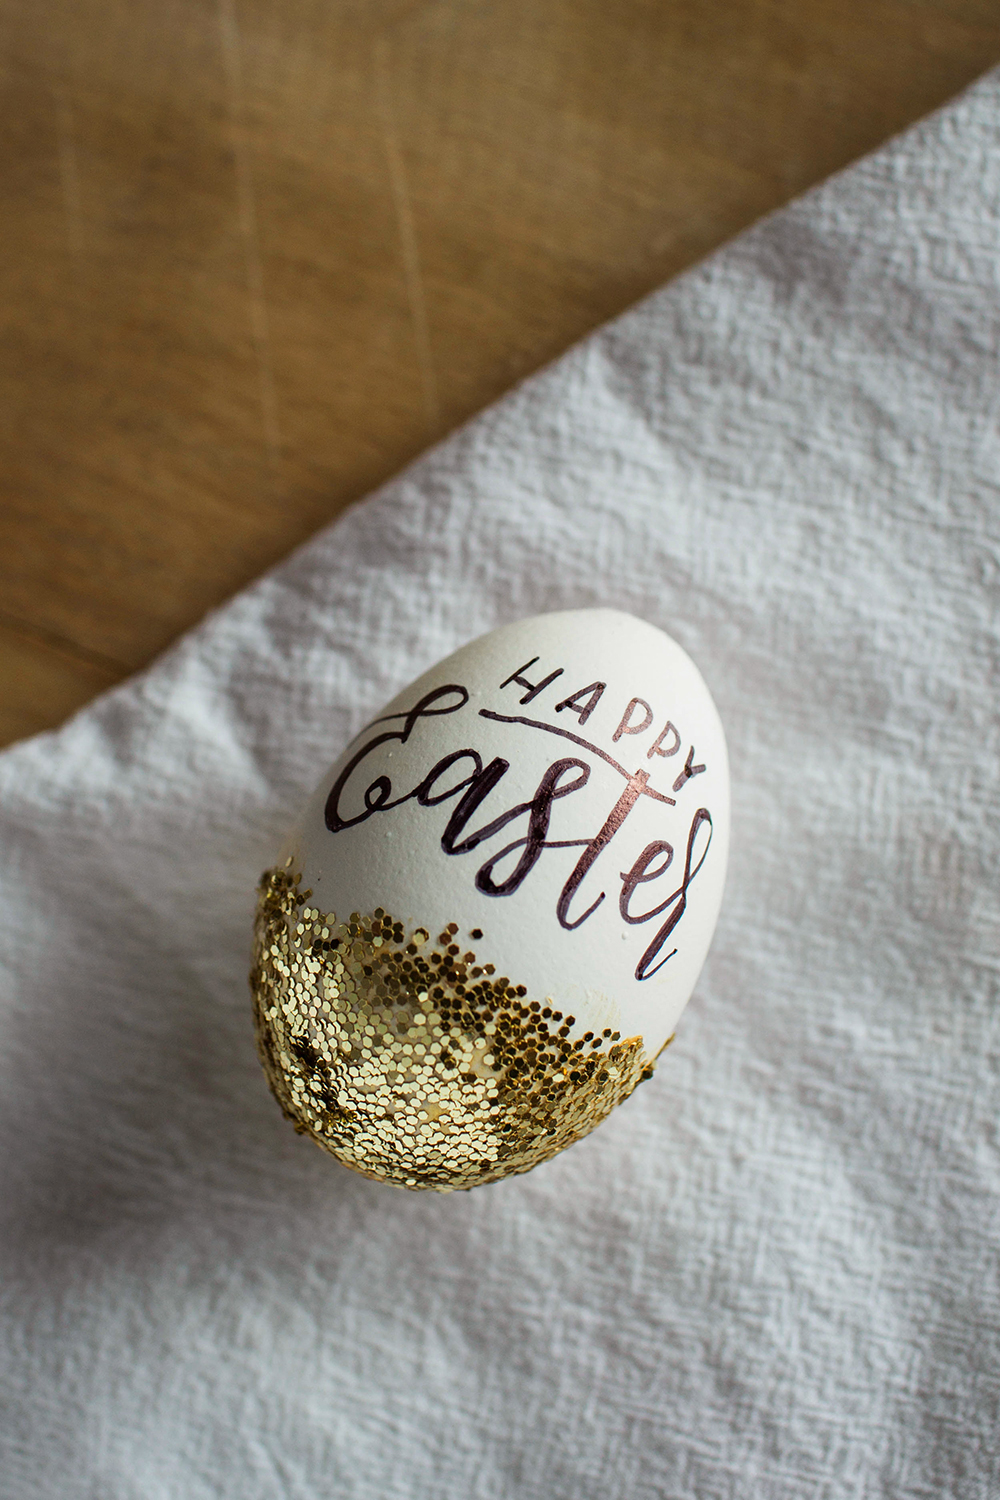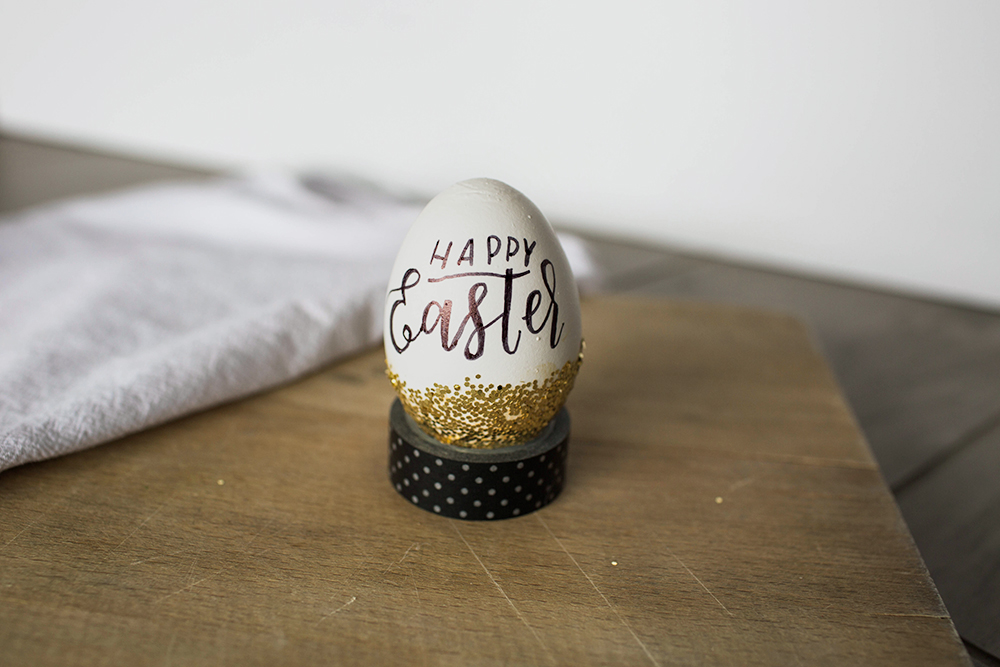
Easter is getting closer! I wanted to share a couple of fun DIY Easter Egg ideas for you guys that are inspired by my love for hand-lettering and calligraphy. This first one I'm sharing today is for all of you fabulous people out there who have a soft spot in your heart for all things that glitter. I LOOOOVE me some glitter. I started by painting the bottom of these with some paint (you could also use modgepodge or any glue really) Then while it was still wet, I dipped the bottom of the egg into my glitter jar. Okay, it's KIND OF like that jar of glitter was MADE for THIS specific task. I mean, look at it. It fit in there perfectly. After all of the paint was covered in glitter, I set the eggs upside down to dry. I found washi tape to make an EXCELLENT egg holder while the paint dries, but you can also just toss it back in the carton. Once it dried I started my doodle sesh. I call this "Faux" calligraphy because although I used the lettering techniques of calligraphy, I did not use a nib. In fact, I just used a sharpie. Easy as that! A fabulous little DIY for Easter that allows you to incorporate GLITTER and CALLIGRAPHY!? Heck. Yes.